
- Click New Requisition.


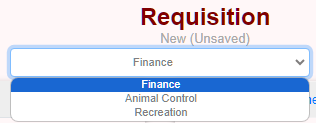
- Select a work flow for the requisition by using the drop-down menu.
- Select a vendor by clicking the magnifying glass.
- Choose the vendor Type.
- Enter the first few characters of the vendors name, or number – a list of vendors will appear.
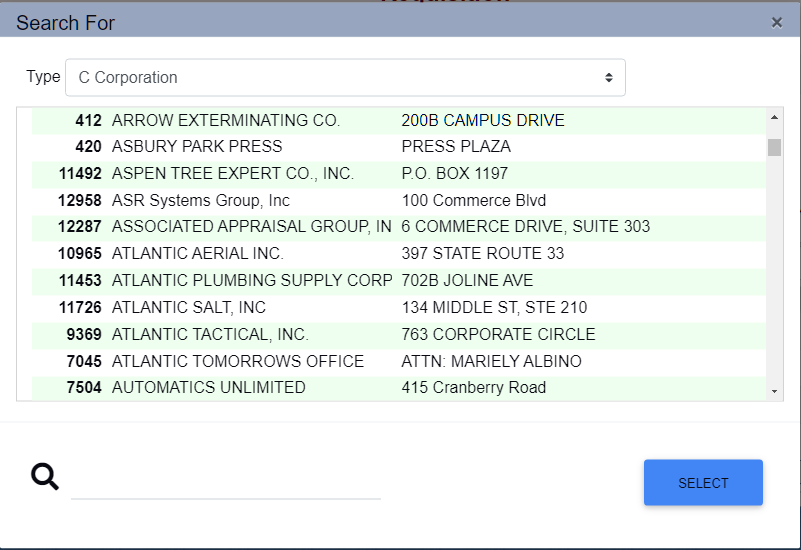
- Click Select on the applicable vendor.
- Start entering the account number; a list of available accounts will appear.
- Enter the commodity code, the quantity, unit, description, and amount.
- When finished, click Save/Submit or Save as Draft (top of the page).
Requisition Page Details
The Ship To tab opens the shipping address drop-down list.
The Information section allows you to input the Project #, Contract #, and select options for the requisition. Once the requisition has been saved you can attach quotes and add other documents.
Enter the Description in the box above the account information.